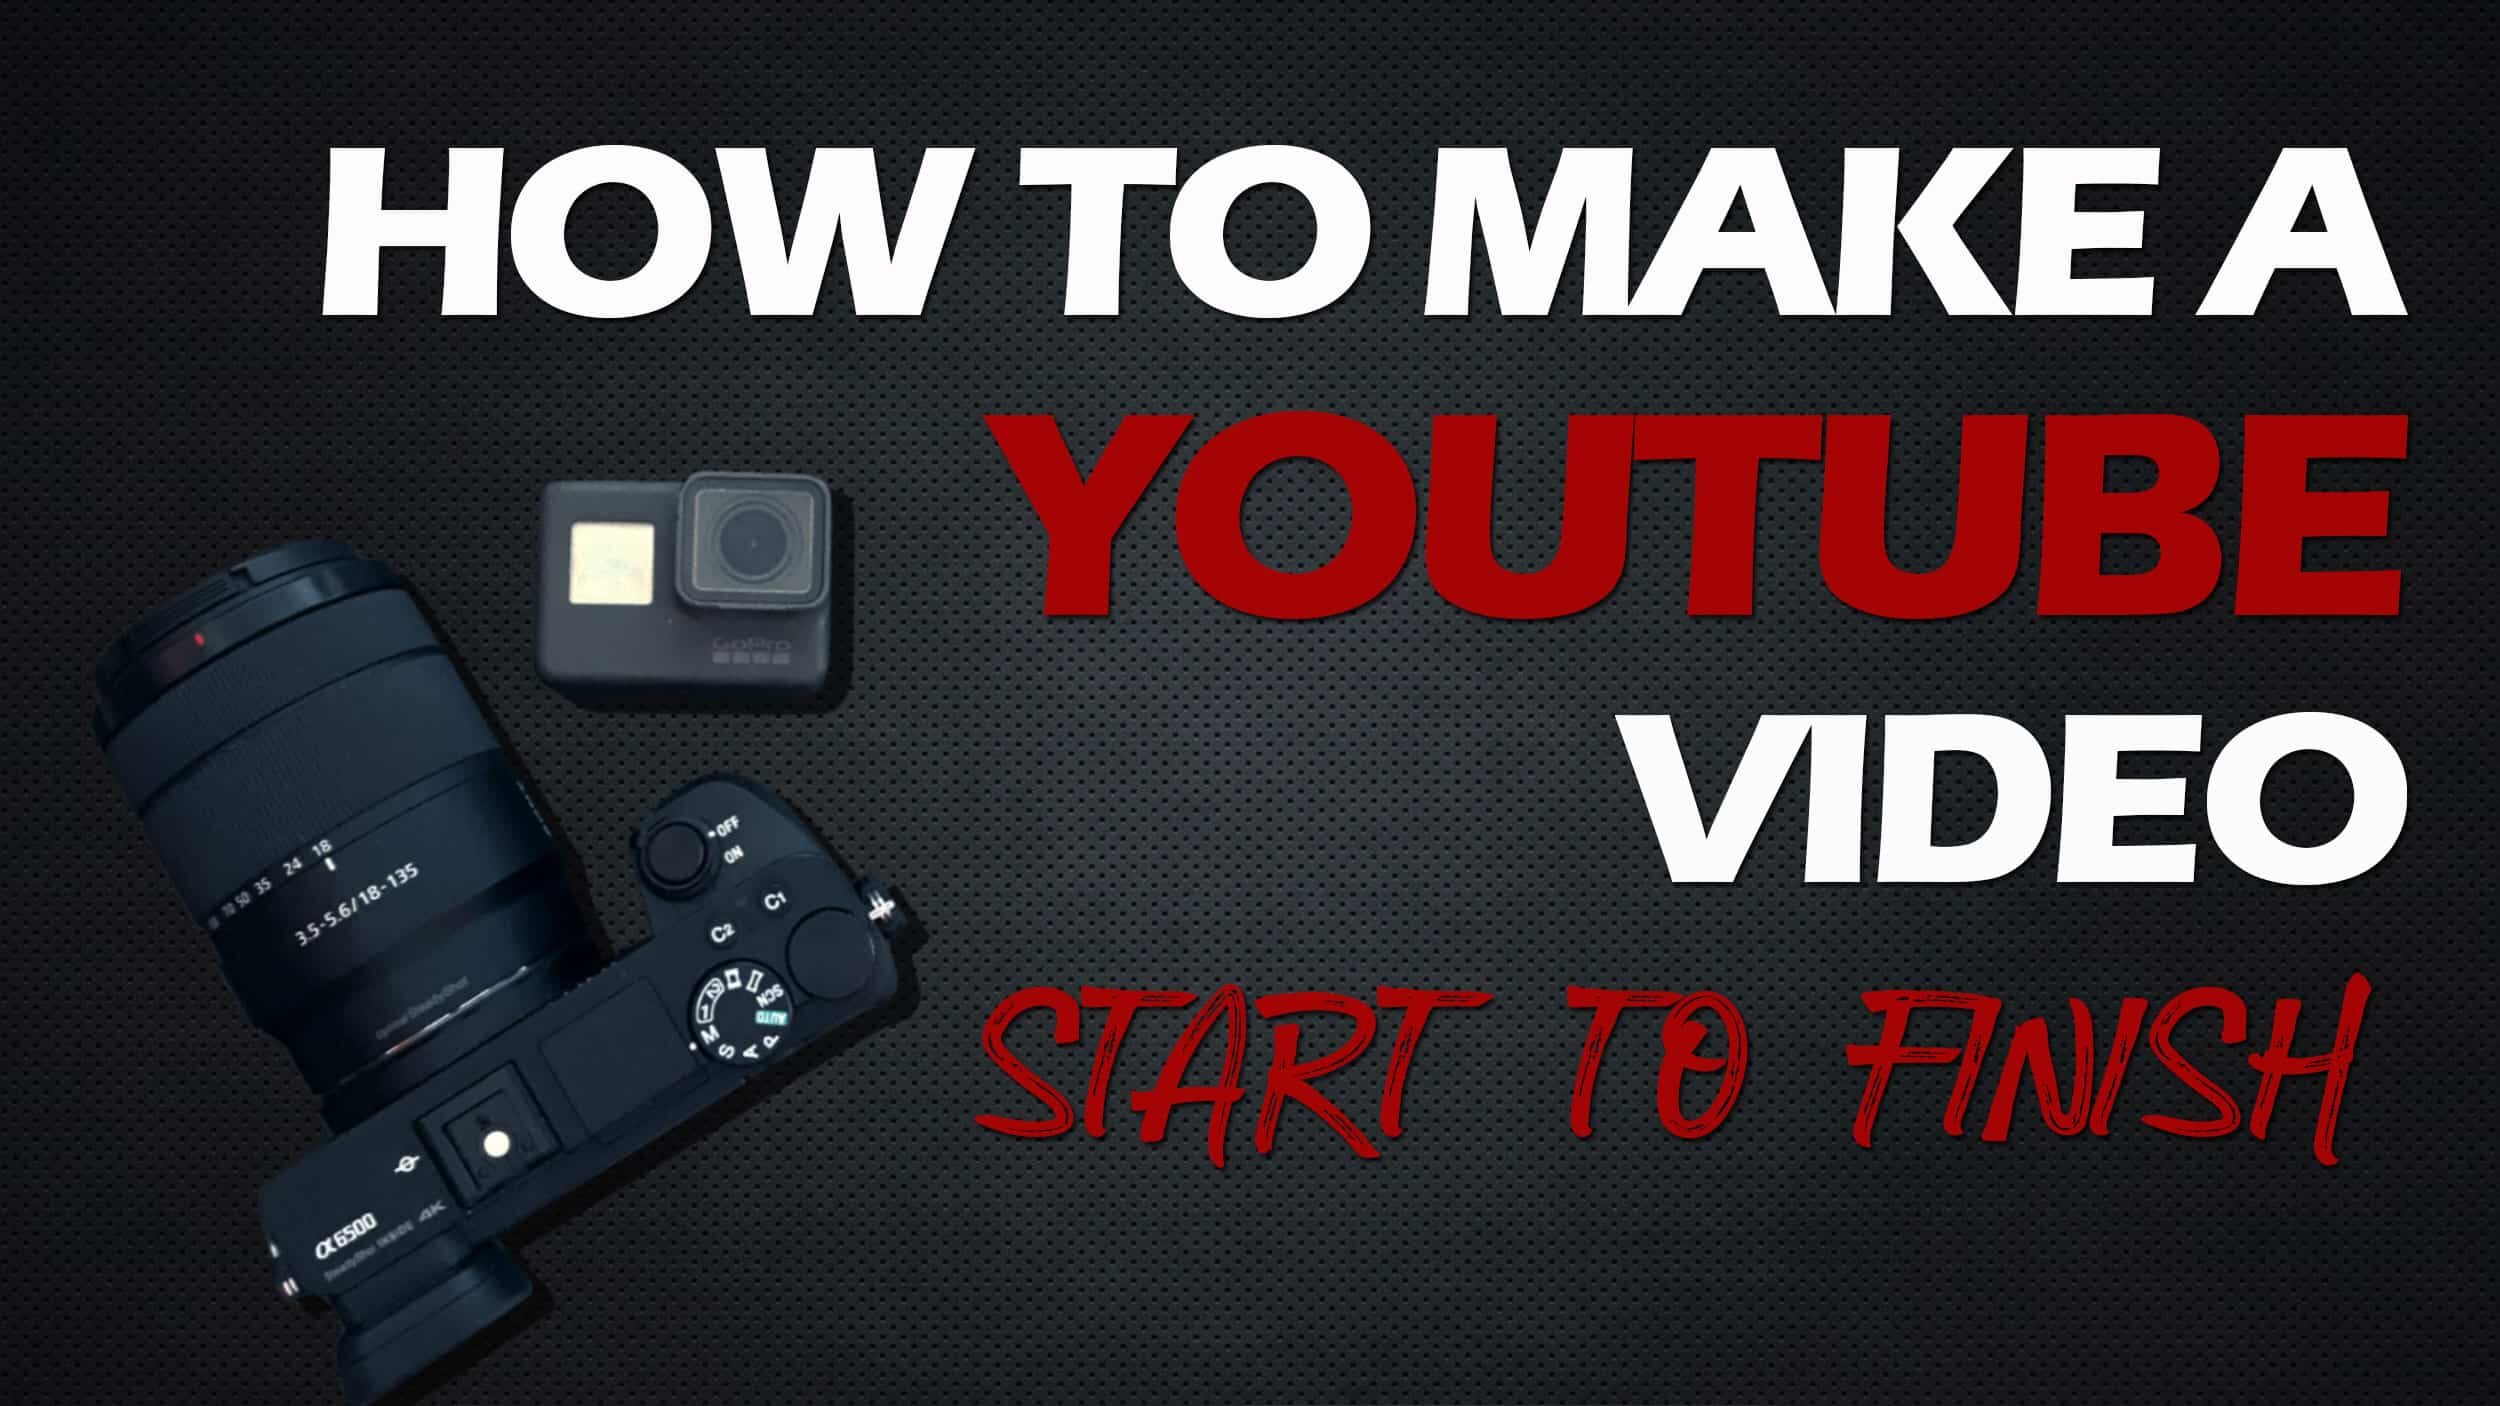
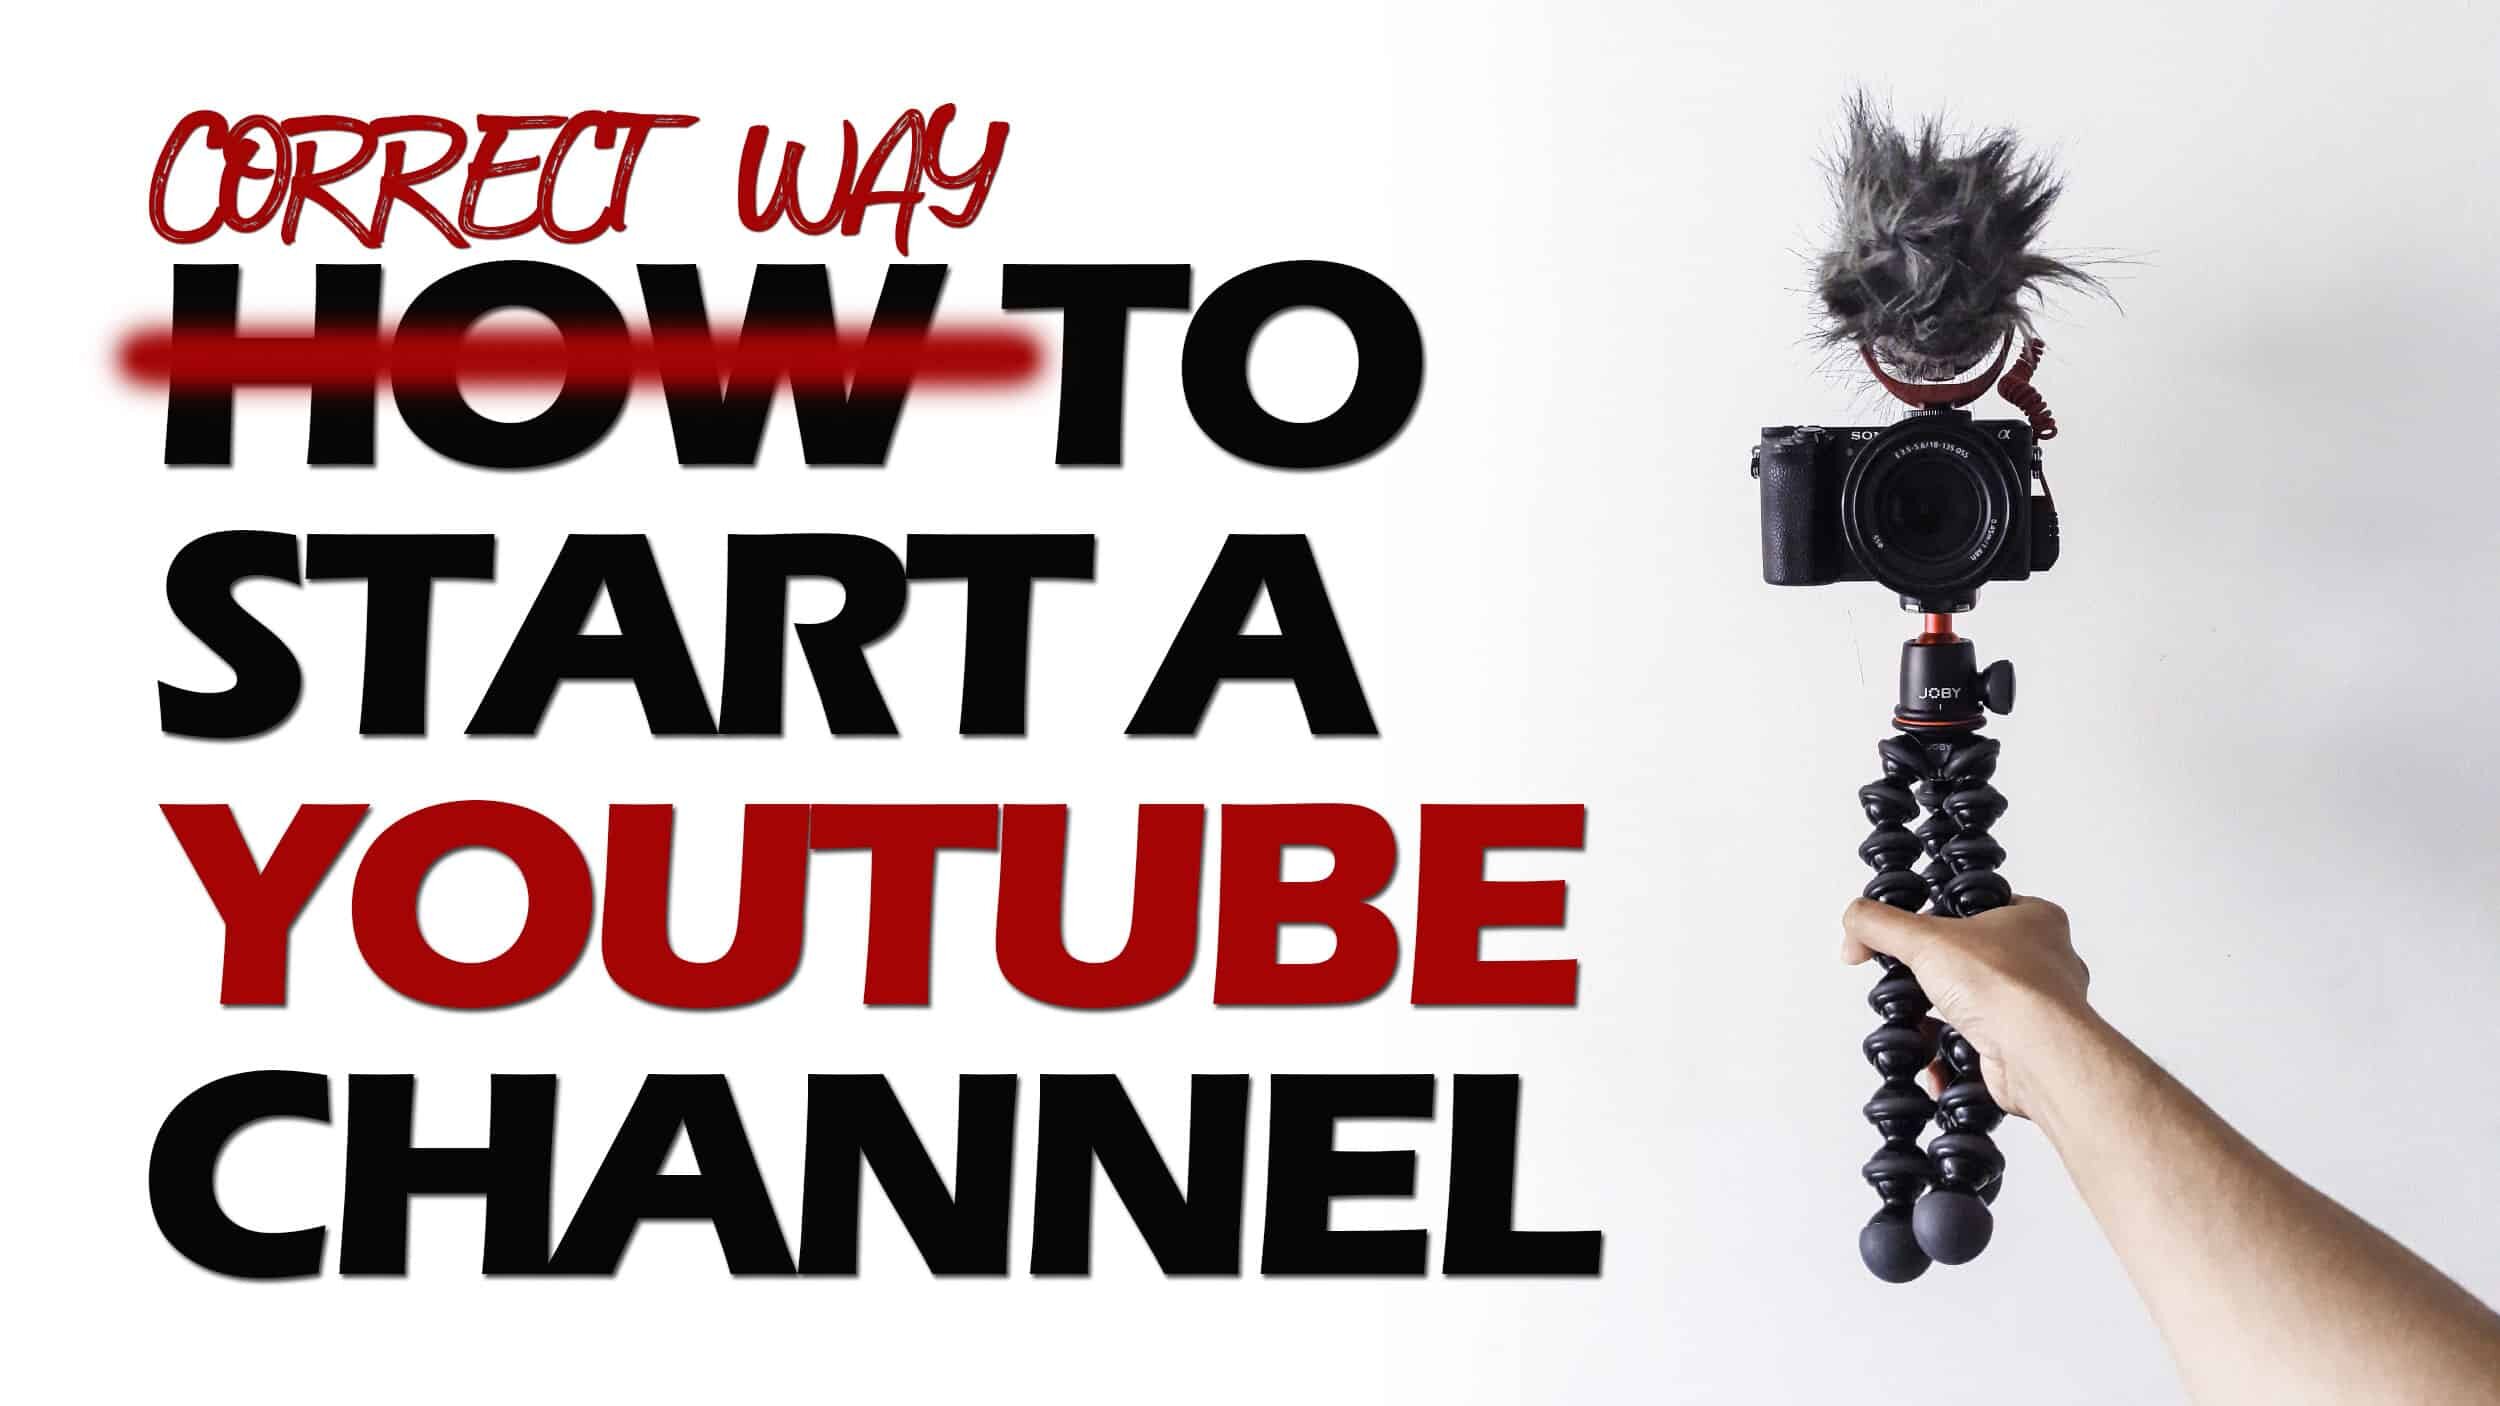
How To Make A Youtube Video | Youtube For Beginners
We’ve already discussed How to Start a Youtube Channel and How to Upload a Video on Youtube on my previous articles. If you haven’t read it, I recommend to take some time and check both articles. It will guide you through your Youtube journey.
Most of you already has uploaded a video on your channel but still has a lot of questions related to video creation. The workflow is simple: Plan, Shoot, Edit and Upload. But in reality, there are plenty of things that goes through each step that makes this harder than you think. Don’t worry, in this article we will go through each steps and try to simplify how to make a Youtube video. Let’s go!
MAKING A YOUTUBE VIDEO STEP-BY-STEP GUIDE
CAMERA
You can use DSLR, mirrorless, action cam, drones and phones.
Since you are still starting, it is not required to have the most expensive camera.
Always remember that the best camera is the camera you have.
Camera Settings
Camera settings will greatly depend on 2 things:
What your content is all about or your end goal.
Camera features/ functions
Resolution
At present, the standard is still 1920x1080.
If your camera has the option to shoot with higher resolution, do so to future proof your assets.
Keep in mind the following:
a. Can you memory card handle the write speed for higher resolution?
b. Do you have enough storage?
c. Can your computer process higher resolution during editing?
Frame Rates
The base frame rate is 24fps
For slow motion, refer to the table below:
The following items are out of scope on this article since this is a beginner’s guide. Just leave all the option in Auto:
i. ISO
ii. Shutterspeed
iii. Aperture
iv. Picture Profile
The goal here is to provide the basic information that will help you shoot a Youtube video. Will discuss this in details in a separate article.
PLANNING
Create a storyboard
Concept of the video
High level plan of the project
Include scenes, shot list, transitions, etc.
ACTUAL SHOOT
Shoot with Intent
If you are doing Youtube videos, shoot in landscape orientation.
If you are doing stories, shoot it in portrait orientation.
Don’t shoot 120fps to an interview video.
Shoot several shots of the same scene
It is better to have extra clips that you do not need, than to need an extra clip that you do not have.
EDITING
Aside from Premier Pro and Final Cut Pro, there are plenty of editing software that you can use for free. For Desktop try Da Vince Resolve, Lightworks and Hitfilm Express. For Mobile, Adobe Premier Rush, Kinemaster and Quik for GoPro.
The Main sequence/ timeline should be 24 fps.
Use this workflow as guide:
Organize Assets.
Assemble your sequence.
Add Title and Text.
Add Audio and Music.
Aside from your voice, add sounds to make your video interesting.
Color Grade and Color Correct.
Minimal editing is required since we left the Camera Settings – Picture Profile into auto/default.
Export
All applications have their default export settings.
Align settings with the current sequence settings.
Export with the maximum render quality.
UPLOADING
Now that your video is ready for upload in Youtube, you should follow the step by step guide on my previous article How to Upload a Video on Youtube.
I hope this article streamlined the process of making a Youtube video and help you on growing your Youtube Channel.
TIPS ON MAKING A YOUTUBE VIDEO
For gear:
Always remember that the best camera is the camera you have.
My Vlogging gear were acquired over the course of my Youtube career. It is not wise to buy all of it in one go. Best to start with what you have and gradually upgrade once you have a budget.
I would recommend investing in a good mic. Remember that audio can make or break a video.
Use a recommended SD card for your gear. This is to avoid corrupted or choppy playback after shoot.
For Camera Settings:
Be familiar with the functions and limitations of your camera.
Setup your camera depending on the style of your content.
For Planning:
Do not skip Storyboard. Adding this to your workflow will help you organize your thoughts and speed up the process.
For Shooting:
Shoot with intent.
Have Fun.
For Editing:
Organize your assets.
Take time to familiarize yourself with the application you are using.
Know the shortcut keys. This will help you speed up the process.
Watch all you clips. This is time consuming but is important.
Do not use Copyrighted Music.
For Video Output:
Always watch your video after export.
WHAT’S IN MY BAG?
If you want to know more about the cameras, gadgets and travel essentials I use, check out “MY GEAR”


This is a step-by-step guide on how to make a Youtube Video.